Step-by-Step Guide to Applying Bilge Paint
Key Takeaways
Introduction
Transforming your boat's bilge begins with meticulous preparation. Thoroughly clean the area, removing all dirt, oil, and old marine paint to create a clean canvas. For optimal adhesion, lightly sand the surface before applying a suitable primer. The Importance of Bilge Paint is essential for protecting the bilge area of your boat, which is prone to moisture and corrosion due to its exposure to water and other marine elements. By applying bilge paint, you safeguard this crucial area from rust and deterioration.
Surface Preparation is crucial when applying bilge paint to ensure maximum adhesion and durability. Begin by thoroughly cleaning the bilge area to remove any dirt, grease, oil, or old paint. This can be achieved using a degreaser or marine-grade cleaner, followed by rinsing with clean water and allowing the surface to dry completely. Next, inspect the surface for any rust or loose material, which should be removed with a wire brush, sandpaper, or a scraper. For metal surfaces, it’s recommended to treat the area with a rust converter if necessary, to prevent further corrosion. Finally, lightly sand the entire surface to create a slightly rough texture, which helps the bilge paint adhere better. Proper surface preparation is the foundation of a successful bilge painting job, ensuring that the paint bonds effectively and provides long-lasting protection against moisture and chemicals commonly found in bilge areas.
This guide will take you through the preparation, application, and post-application processes, providing detailed instructions to achieve a professional finish.
Step-by-Step Guide to Applying Bilge Paint
1. Preparation
Gather Materials and Tools Before starting, ensure you have all necessary materials and tools:
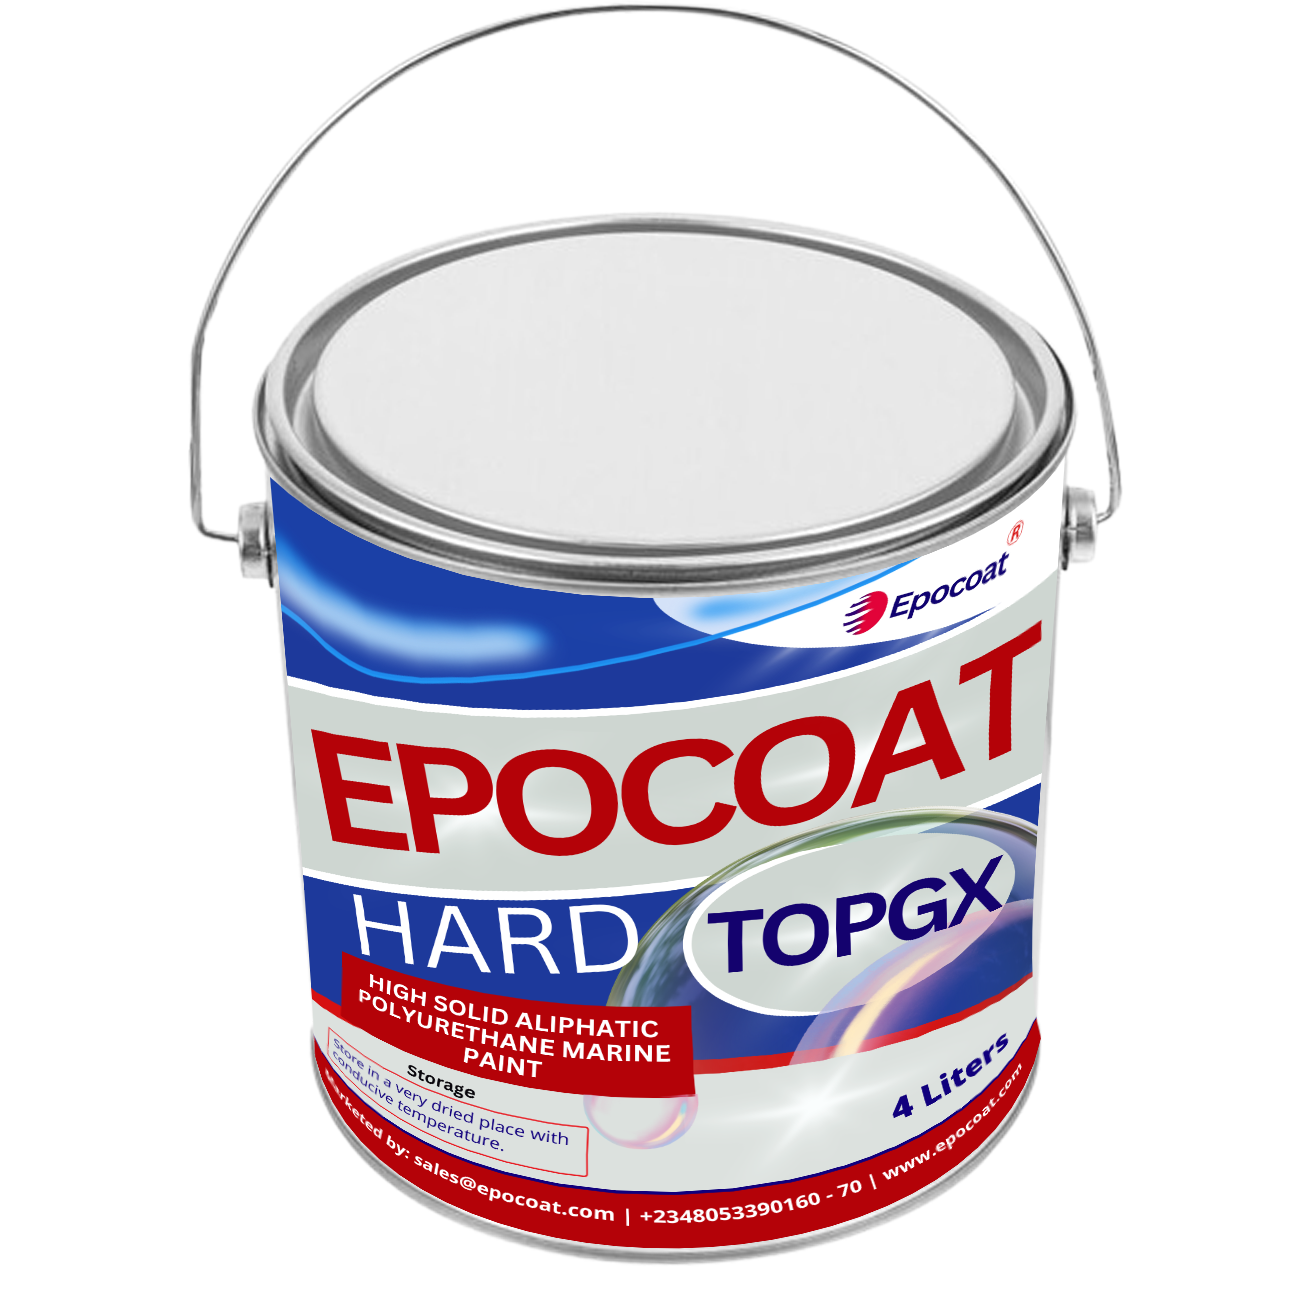
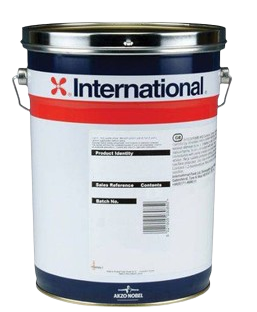
- Bilge Paint: For this project, we recommend Epocoat Hard Top Gx (High Solid Aliphatic Polyurethane Marine Paint). This high-quality paint offers outstanding weather resistance, excellent color gloss retention, and resistance to various chemicals.
- Paintbrushes or Rollers: Select appropriate applicators based on the size and shape of the bilge area.
- Sandpaper or Wire Brush: Essential for surface preparation and smoothing.
- Degreaser or Cleaning Solution: To remove grease and contaminants.
- Safety Gear: Include gloves, a mask, and goggles to protect yourself during the painting process.
- Drop Cloths or Plastic Sheeting: To protect areas around the bilge from paint splatters and spills.
Safety Precautions Safety is paramount when working with bilge paint:
- Ventilation: Ensure the bilge area is well-ventilated to avoid inhaling harmful fumes.
- Personal Protective Equipment (PPE): Wear gloves, a mask, and goggles to safeguard against paint and chemicals.
- Handling and Storage: Follow the manufacturer's guidelines for safe handling and storage of paint products.
2. Surface Preparation
Cleaning the Bilge Area Begin by thoroughly cleaning the bilge area:
- Removing Debris, Dirt, and Grease: Use a degreaser or cleaning solution to scrub away dirt and grease. This ensures a clean surface for the paint to adhere to.
- Recommended Cleaning Agents and Techniques: Use cleaning agents specifically designed for marine environments. Employ brushes or rags to reach all corners and crevices.
Drying the Area A dry surface is crucial for optimal paint adhesion:
- Importance of a Dry Surface: Paint adheres better to dry surfaces, reducing the risk of peeling or bubbling.
- Methods to Ensure the Bilge is Thoroughly Dry: Allow adequate time for the bilge area to dry completely before painting. Use fans or dehumidifiers to expedite the drying process if necessary.
Sanding and Surface Smoothing Proper sanding prepares the surface for a smooth application:
- Purpose of Sanding: Sanding removes old paint, rust, or rough spots, creating a smooth and even surface for the new paint.
- How to Sand Effectively: Use sandpaper or a wire brush to sand the bilge area thoroughly. Pay special attention to any areas with rust, ensuring they are properly smoothed out.
- Addressing Rust or Old Paint: If rust is present, sand it down until the metal is smooth. For old paint, remove it completely to ensure good adhesion of the new paint.
3. Application Process
Applying Primer (if necessary)In some cases, a primer is essential to ensure proper adhesion and durability of the bilge paint:
- Purpose of a Primer: Primer serves as a base layer that helps the paint adhere better to the surface and enhances its durability. It also helps in covering any stains or previous coatings.
- How to Apply Primer Evenly: Use a clean brush or roller to apply a thin, even coat of primer over the prepared surface. Ensure thorough coverage of all areas.
- Drying Time and Recoat Instructions: Follow the manufacturer's instructions for drying times. Typically, primers need to dry for several hours before applying the topcoat. Allow sufficient time for the primer to cure properly before proceeding to the next step.
Mixing and Preparing Bilge Paint Proper preparation of bilge paint ensures a smooth and consistent application:
- Instructions for Mixing Paint: Stir the bilge paint thoroughly to achieve an even consistency. Follow the manufacturer's instructions for mixing with any hardeners or thinners.
- Achieving the Right Consistency: Ensure that the paint has the correct consistency for application. It should be thick enough to provide good coverage but not so thick that it becomes difficult to apply.
Painting the Bilge Applying bilge paint requires careful attention to detail:
- Techniques for Applying Bilge Paint: Use a brush or roller to apply the paint in long, even strokes. For hard-to-reach areas, use a small brush or detail applicator.
- Ensuring Even Coverage: Apply the paint evenly across all surfaces, ensuring that no bare spots are missed. Overlap your strokes to avoid streaks and ensure a uniform finish.
- Handling Tight or Hard-to-Reach Areas: For difficult areas, use smaller brushes or a paint sprayer. Be meticulous to ensure complete coverage and protection.
Drying and Curing Proper drying and curing are crucial for the longevity of the paint job:
- Drying Times for Bilge Paint: Allow the paint to dry as per the manufacturer’s instructions. Drying times can vary based on the type of paint and environmental conditions.
- Recommendations for Curing and Setting: After the paint has dried, let it cure fully before using the bilge area. Curing times ensure that the paint hardens and adheres properly, providing long-lasting protection.
3. Post-Application Care
Clean-Up After completing the painting process, proper clean-up is essential:
- Cleaning Tools and Equipment: Wash brushes, rollers, and other tools with the recommended cleaning agents (usually water or paint thinner) to remove any residual paint. Properly clean tools to ensure they remain in good condition for future use.
- Disposal of Paint Waste: Dispose of any leftover paint and paint cans according to local regulations. Many areas have specific disposal guidelines for hazardous materials, so be sure to follow these to avoid environmental harm.
Inspecting the Work Once the paint is fully dry and cured, inspect your work to ensure a high-quality finish:
- Checking for Missed Spots or Uneven Coverage: Examine the bilge area carefully for any missed spots or uneven areas. Touch up any deficiencies to ensure complete and uniform coverage.
- Touching Up Any Areas as Needed: Apply additional paint to any areas that need improvement. Allow time for touch-ups to dry and cure properly.
Maintaining the Painted Bilge Regular maintenance helps keep the bilge area in good condition:
- Regular Cleaning and Inspection Tips: Periodically clean the bilge area to remove dirt and debris. Inspect the painted surface regularly for signs of wear or damage.
- Addressing Any Issues That Arise: If you notice any peeling, chipping, or other issues, address them promptly to prevent further damage and maintain the effectiveness of the paint.Common Issues and Troubleshooting
Paint Peeling or Bubbling Causes and Solutions: Peeling or bubbling often results from inadequate surface preparation or moisture trapped under the paint. To resolve this issue:
- Ensure that the surface is thoroughly cleaned and dried before painting.
- Avoid painting in high humidity or damp conditions.
- If bubbling occurs, sand down the affected areas, clean the surface, and repaint.
Uneven Coverage Identifying the Problem and Fixing It: Uneven coverage can be due to improper application or inconsistent paint mixing. To correct this:
- Apply the paint in smooth, even strokes, ensuring that you cover all areas.
- Stir the paint thoroughly to ensure an even consistency before application.
- Touch up any areas where the coverage is inconsistent and allow time for drying.
Drying Problems Troubleshooting Slow or Incomplete Drying: Slow or incomplete drying can be caused by high humidity or low temperatures. To address this:
- Ensure that the area is well-ventilated to aid in drying.
- Maintain the recommended temperature range for drying.
- Use fans or dehumidifiers to improve air circulation and reduce humidity.
Brand Recommendations
The Epocoat Hard Top GX is renowned for its durability on topside and deck, it is the ideal choice for the bilge due to its specific formulation. Opt for a bilge-specific paint designed to withstand constant moisture, mildew, and potential chemical exposure. Apply multiple thin coats, allowing ample drying time between each. Remember to wear protective gear and ensure proper ventilation throughout the process.
Frequently Asked Questions
1. How long does bilge paint take to dry?
Drying times vary depending on the type of paint and environmental conditions. Typically, bilge paint dries to the touch within 1-2 hours and fully cures in 24-48 hours.
2. Can I apply bilge paint over old paint?
It is generally best to remove old paint and properly prepare the surface before applying new bilge paint. However, if the old paint is in good condition and adheres well, you may paint over it with proper surface preparation.
3. What should I do if I accidentally spill bilge paint?
Clean up spills immediately using appropriate cleaning agents and absorbent materials. Dispose of the waste according to local regulations to minimize environmental impact.
4. Is bilge paint safe to use in confined spaces?
Ensure proper ventilation when applying bilge paint in confined spaces. Use personal protective equipment (PPE) and follow safety guidelines to avoid inhaling fumes.
5. How can I ensure the paint adheres properly to a rusty surface?
Sand down rusted areas until smooth and apply a rust-inhibiting primer before painting. This will help the bilge paint adhere properly and provide long-lasting protection.
Other Related Articles
Step-by-Step Guide to Applying Topside Paint
The Ultimate Guide to Coating Painting Services: Everything You Need to Know
Understanding the Role of Protective Coatings in Surface Preservation and Longevity

Conclusion
A well-maintained bilge is essential for your boat's overall health and longevity. By following these steps and using the appropriate products, you can transform a dirty, neglected bilge into a clean and protected space. Remember, proper preparation is key to achieving a long-lasting finish. Regular inspections and touch-ups will help maintain your bilge's pristine condition. With a little effort, you can enjoy the peace of mind that comes with a clean and well-protected boat.
Ready to enhance your bilge area with high-quality paint? Visit GZ Industrial Supplies to explore our range of top-notch bilge paints and tools. Our products, including Epocoat HardTop GX, are designed to provide the durability and protection your boat needs. Shop now to get started on your painting project!
Recent Posts
-
The Ultimate Guide to Understanding the Difference Between Ethylene Glycol and Propylene Glycol
Introduction Glycols are versatile compounds widely used across various industries, from automotive …Apr 16, 2025 -
What are Agricultural Machinery
Introduction Agricultural Machinery is also used to improve the wide range of production prac …Apr 14, 2025 -
The Best Electrical Wire in Nigeria 2025 (Updated)
Introduction Electrical wires are the basic unit of every electrical system. Electrical wires …Apr 14, 2025


